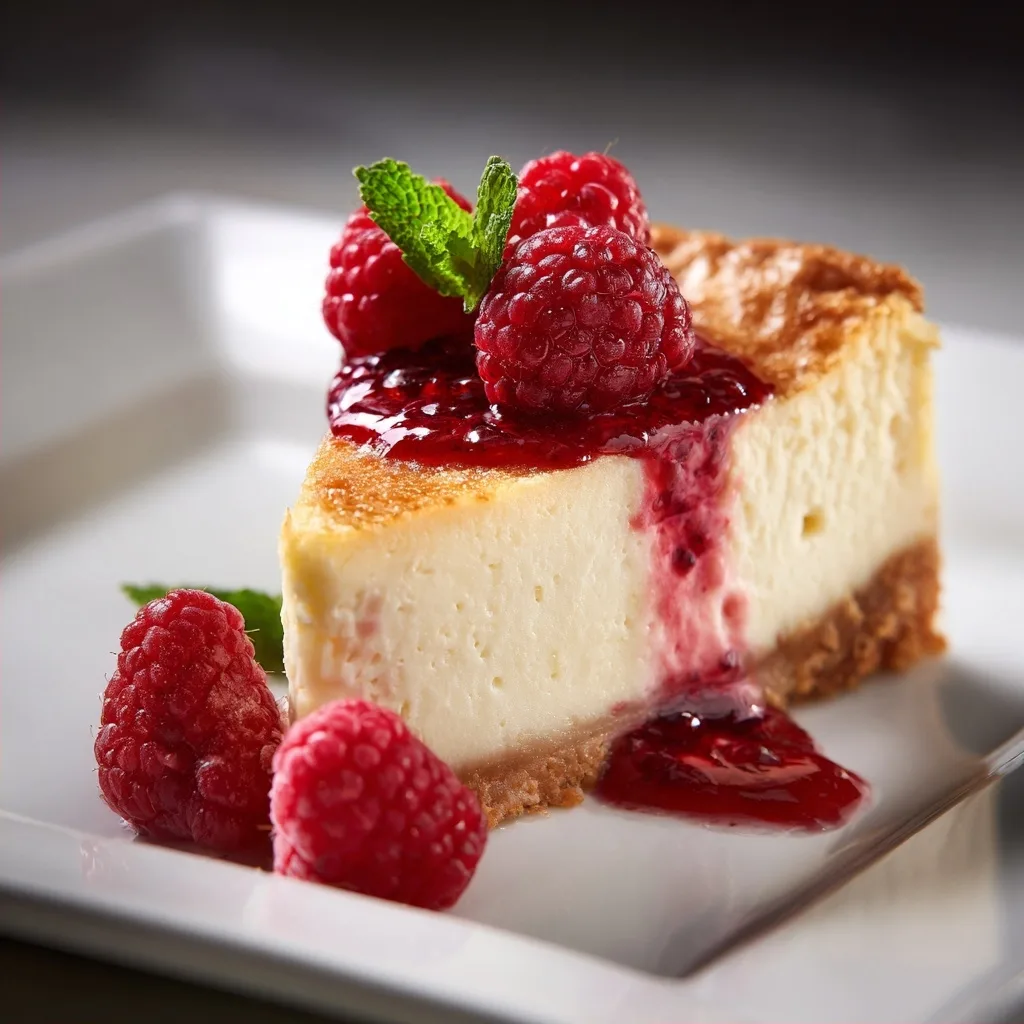
No-Bake Peanut Butter Cheesecake with Chocolate Topping
This post may contain affiliate links. As an affiliate, we may earn a small commission from qualifying purchases — at no extra cost to you.
One rainy afternoon, I craved something sweet and creamy, so I whipped up a peanut butter cheesecake. I never would have guessed that a no-bake version could be so rich and dreamy. My family devoured it, and I realized I had stumbled upon a dessert that would become a staple in our home.
This peanut butter cheesecake stands out because of its velvety texture and the smooth chocolate topping that adds just the right amount of indulgence. It’s super easy to prepare, making it the perfect treat for any occasion — no oven required!
Why You'll Love It
Ingredient Notes
What You'll Need
- 1 cup cream cheese, softenedlook for full-fat cream cheese for a rich and creamy texture; low-fat options can be too watery.
- 1 cup peanut butter, smooth and creamychoose a natural peanut butter without added sugars or oils for the best flavor.
- 1/2 cup powdered sugar, siftedsifting prevents clumps and ensures a smooth cheesecake filling.
- 1 tsp vanilla extractreal vanilla extract adds depth; avoid imitation vanilla for the best taste.
- 1 cup whipping cream, colduse heavy whipping cream for a light and fluffy texture; it whips up better.
- 1/4 cup chocolate chips, for toppingsemi-sweet or dark chocolate chips work well, adding a nice contrast to the sweetness.
- 1 cup graham cracker crumbs, for crustfreshly crushed crumbs yield a better texture; avoid pre-made crumbs that can be stale.
- 1/4 cup unsalted butter, meltedunsalted butter allows you to control the overall saltiness of the cheesecake.
When making this Peanut Butter Cheesecake, the quality of your ingredients really matters. For instance, using a good-quality cream cheese and natural peanut butter enhances the overall flavor. I recommend brands like Philadelphia for cream cheese and Jif or Skippy for peanut butter.
Easy Substitutions
- Dairy-free: swap cream cheese with a dairy-free cream cheese alternative — the texture will be slightly less creamy, but the flavor will still be delightful.
- Gluten-free: swap graham cracker crumbs with gluten-free cookie crumbs — you’ll get a slightly different flavor, but it will still hold together nicely.
- Lower calorie: swap powdered sugar with a sugar substitute like erythritol — this will reduce sweetness a bit, but it keeps the cheesecake light.

How to Make This Recipe
Prep the Crust
In a medium bowl, combine graham cracker crumbs and melted butter. Mix until well combined, which creates a rich, buttery flavor in your crust.
Press the mixture firmly into the bottom of a 9-inch springform pan to form the crust. This step ensures a solid base that holds the cheesecake together, resulting in a satisfying crunch.
Make the Filling
In a large bowl, beat the softened cream cheese with an electric mixer on medium speed until smooth, about 2 minutes. This helps create a creamy texture that blends beautifully with the other ingredients.
Add the peanut butter, powdered sugar, and vanilla extract to the cream cheese. Beat until fully combined and creamy, about 2 minutes. The sweet aroma of peanut butter will fill your kitchen at this point, making it hard to resist.
In a separate bowl, whip the cold whipping cream until stiff peaks form, about 3-5 minutes. This step is crucial for lightening the filling, giving it a fluffy texture that contrasts beautifully with the crust.
Gently fold the whipped cream into the peanut butter mixture until no streaks remain. Take your time here; over-mixing can deflate the whipped cream and make the filling dense.
Chill & Serve
Pour the peanut butter cheesecake filling over the prepared crust and smooth the top with a spatula. This visual cue ensures an even layer, perfect for slicing later.
Chill the cheesecake in the refrigerator for at least 4 hours, or until set. The waiting will be worth it when you cut into that creamy, rich slice later.
Before serving, sprinkle chocolate chips over the top of the cheesecake for a pleasureful crunch. This adds a lovely contrast in flavor and texture.
Remove the sides of the springform pan and slice the cheesecake into wedges to serve. Each slice should reveal a smooth layer of peanut butter goodness!
Pro Tips
Pop your springform pan in the freezer for about 30 minutes before using it. This helps the crust set up more firmly, preventing any leaks when you pour in that smooth cheesecake filling. Trust me, it saves a lot of cleanup later!
Opt for a smooth, creamy peanut butter rather than the crunchy variety. The texture will blend smoothly into the cheesecake, ensuring a silky mouthfeel. I learned this lesson the hard way when my first batch had unwanted bits of crunch!
A pinch of salt enhances the flavors beautifully. It balances the sweetness and brings out the richness of the peanut butter. Just a little goes a long way—trust your taste buds as you mix!
For the best flavor and texture, allow your cheesecake to set in the fridge overnight. This extra time lets the flavors meld beautifully, producing a rich, harmonious dessert that’s worth the wait. I always make mine a day in advance!
A drizzle of melted chocolate on top adds a decadent touch. Melt some chocolate chips and let it cool slightly before drizzling for that picture-perfect finish. It’s a simple step that makes a huge impact on presentation!
Variations & Customizations
Flavor Twists
Chocolate Chip Delight
Fold in ½ cup mini dark chocolate chips after mixing the filling. The mini size melts into little pockets, creating a pleasureful surprise with each bite. The cheesecake becomes richer, with bursts of chocolate that contrast beautifully with the creamy peanut butter.
Banana Cream
Blend in 1 ripe banana, mashed, into the peanut butter mixture before adding the whipped cream. This variation offers a sweet, fruity note that complements the nuttiness of the peanut butter. The result is a smooth, creamy cheesecake with a hint of banana aroma and a soft, velvety texture.
Seasonal Versions
Pumpkin Spice
Incorporate ½ cup pumpkin puree and 1 teaspoon pumpkin pie spice into the cream cheese mixture. This autumn-inspired twist creates a warm, spiced flavor that’s perfect for the season. You’ll end up with a cheesecake that’s creamy and decadent, with a beautiful orange hue and a comforting aroma that fills the kitchen.
Chocolate Peanut Butter Swirl
Melt ½ cup of chocolate chips and swirl it into the cheesecake filling just before pouring it into the crust. This unexpected twist results in visually stunning swirls and a decadent chocolate-peanut butter rich flavor that’s both rich and satisfying.
Storage & Meal Prep
How to Store
Room Temperature
Your Peanut Butter Cheesecake can sit out at room temperature for up to 2 hours. Make sure to keep it covered with a cake dome or plastic wrap to prevent it from drying out.
Refrigerator
Store your cheesecake in an airtight container in the fridge for up to 5 days. Before placing it in the container, let it cool completely and wrap it individually if you plan to have slices throughout the week. This prevents moisture buildup and keeps each slice fresh.
Freezer
If you want to keep it longer, freeze the cheesecake for up to 2 months. Flash freeze slices on a sheet pan before wrapping each piece individually in plastic wrap and placing them in a freezer-safe bag. To thaw, transfer them to the fridge overnight or let them sit at room temperature for about 30 minutes.
Meal Prep
For a practical batch cooking strategy, consider doubling the recipe if you want to enjoy this treat throughout the week. Preparing it the night before is ideal; it allows the flavors to meld beautifully. Store slices in a container separated by parchment paper to keep them from sticking together. They'll stay fresh for up to 5 days in the fridge. To reheat, pop a slice in the microwave for about 15-20 seconds for that creamy goodness.
Equipment You'll Need
Essential
9-inch springform pan: This pan allows for easy removal of the cheesecake without damaging its delicate structure. The sides release, making serving a breeze. A regular cake pan doesn’t provide the same convenience and can make slicing a messy affair.
Electric mixer: A hand or stand mixer is crucial for achieving that creamy, smooth texture in the cream cheese and peanut butter mixture. While you could use a whisk, it would take much longer and might not fully incorporate everything, leaving lumps that affect the final taste.
Nice to Have
Rubber spatula: This handy tool helps you fold the whipped cream gently into the peanut butter mixture without deflating it. It’s also perfect for scraping every last bit of that delicious filling out of the bowl. A regular spoon won’t do the job as effectively.
Frequently Asked Questions
Can I use low-fat cream cheese for this recipe?
Yes, you can use low-fat cream cheese, but it may affect the texture and creaminess. The cheesecake might be a bit less smooth and rich, so keep that in mind if you're aiming for a decadent treat.
Why did my peanut butter cheesecake crack on top?
Cracking often happens due to rapid temperature changes. To prevent this, make sure to bake your cheesecake in a water bath and avoid opening the oven door while it bakes.
Can I make peanut butter cheesecake ahead of time?
Absolutely! You can prepare the cheesecake up to two days in advance. Just cover it tightly and store it in the fridge until you're ready to serve.
What can I substitute for graham crackers in the crust?
You can use digestive biscuits, vanilla wafers, or even crushed Oreos for a twist. Each option will bring its own unique flavor to the crust, so choose based on your preference!
Is there a way to make this cheesecake dairy-free?
Yes, you can substitute cream cheese with a dairy-free cream cheese alternative and use coconut cream instead of sour cream. Just ensure your peanut butter is also dairy-free to keep the recipe completely dairy-free!
This Peanut Butter Cheesecake has become my family's favorite dessert, and it's always a hit at gatherings. For an extra creamy texture, let it chill overnight before serving—it makes a world of difference. I can't wait for you to try it, so leave a comment to share your thoughts or pin this recipe for later!
Peanut Butter Cheesecake
by fantasticrecipe
Indulge in this creamy, no-bake peanut butter cheesecake topped with chocolate for a delightful dessert experience.

Save this recipe!
Enter your email and we'll send it straight to your inbox.
Ingredients
Makes 8 servings
Ingredients
- 1 cup cream cheese
- 1 cup peanut butter
- 1/2 cup powdered sugar
- 1 tsp vanilla extract
- 1 cup whipping cream
- 1/4 cup chocolate chips
- 1 cup graham cracker crumbs
- 1/4 cup unsalted butter
Instructions
Method
- 1
Combine graham cracker crumbs and melted butter in a medium bowl.
- 2
Press the mixture into the bottom of a 9-inch springform pan to form the crust.
- 3
Beat softened cream cheese with an electric mixer on medium speed until smooth, about 2 minutes.
- 4
Add peanut butter, powdered sugar, and vanilla extract to the cream cheese.
- 5
Whip the cold whipping cream in a separate bowl until stiff peaks form, about 3-5 minutes.
- 6
Gently fold the whipped cream into the peanut butter mixture until no streaks remain.
- 7
Pour the peanut butter cheesecake filling over the prepared crust.
- 8
Chill the cheesecake in the refrigerator for at least 4 hours, or until set.
- 9
Before serving, sprinkle chocolate chips over the top of the cheesecake.
- 10
Remove the sides of the springform pan and slice the cheesecake into wedges to serve.
Nutrition (per serving)
If you enjoyed this recipe, please consider leaving a ⭐ star rating and let me know how it went in the comments below.
Ratings & Reviews
Be the first to review this recipe!